24 HOUR CALL OUTS | NO CALL OUT FEE
Send Us Email
How to fix a leaking tap?
How to fix a leaking tap?
Leaking taps can be more than just an annoyance. That persistent drip may seem harmless, but it can significantly increase your water bill and may even lead to further damage if left unchecked. The good news? You don’t need to be a professional plumber to address many common tap leaks. With the right tools, a little patience, and a solid guide, you can tackle the issue yourself.
This guide will walk you through the steps to fix a leaking tap, saving you both time and money. If DIY isn’t your style, or if the problem persists, remember that DWM Plumbing & Heating is just a call away for a reliable and professional solution.
The components of a tap
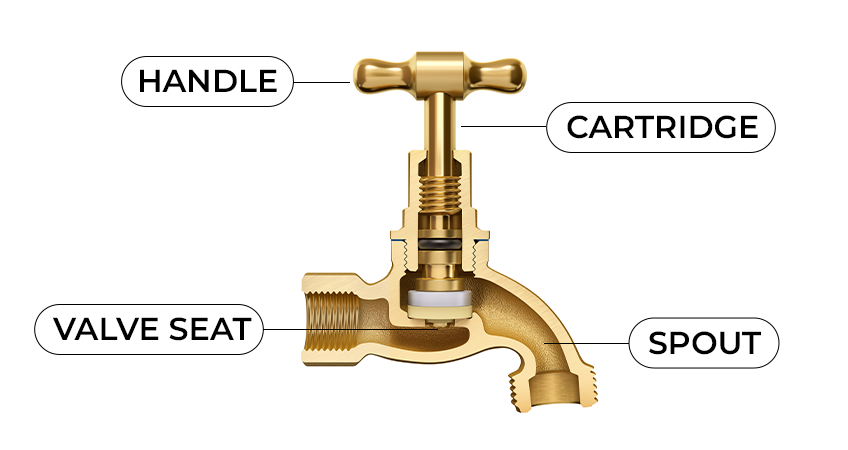
Before we dive into the steps to fix a leaking tap, it’s essential to understand the different parts of a tap and how they work together. This knowledge will help you identify which component is causing the leak and guide your repairs accordingly.
The spout
The spout is the visible part of the tap that water flows through. It can come in various shapes and sizes, but its function remains the same – to direct water from the tap into your sink or tub. If you see any signs of leakage around your spout, it may be due to worn out O-rings or faulty seals. These are relatively easy to replace with some basic tools and should solve most issues with spout leaks.
The handles
Most taps have two handles – one for hot water and the other for cold. They control the flow and temperature of water. Over time, the rubber or silicone seals inside these handles may wear out, leading to drips or even complete loss of control over water flow. Replacing the seals can fix this problem in most cases.
The cartridge
The cartridge is a crucial component that sits inside a tap’s body and regulates the flow of both hot and cold water. It has small openings that align with your faucet’s spout to release water as you turn on the tap’s handle. Cartridges are durable, but they eventually wear out due to continuous use. If you see water dripping from your tap’s spout even in the off position, it could be due to a faulty cartridge that needs replacement.
The valve seat
The valve seat is a small brass cylinder that connects the tap to your water supply. It acts as a connection between the cartridge and the spout, allowing water to flow through. If you have an older tap, the valve seat may become corroded over time, leading to leaks around the base of your tap. Replacing this component may require professional help, so it’s best to call in a plumber for this task.
Understanding the causes of a leaking tap
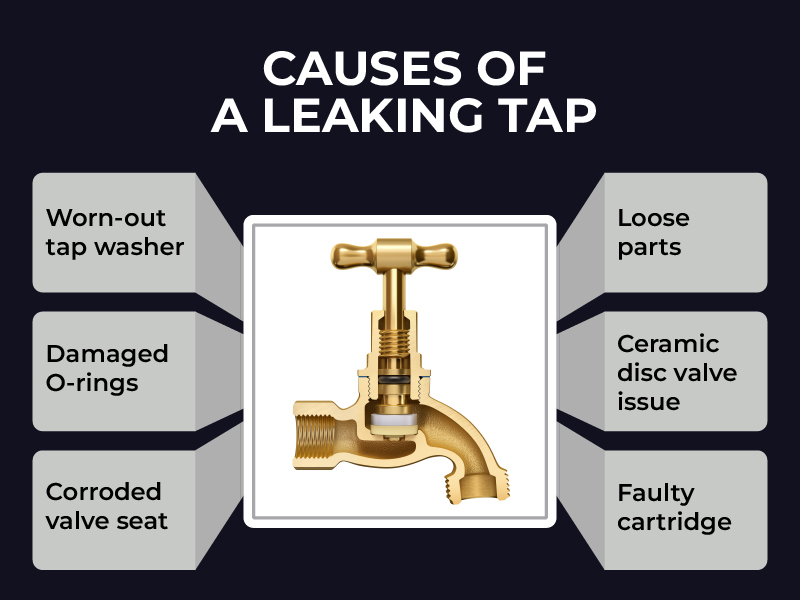
Before you start fixing the leak, it’s important to understand the cause. A leaking tap is usually the result of wear and tear over time. Several factors could be responsible, including:
Worn-out tap washer
Washers create a seal that prevents water from passing through when the tap is off. Over time, they can wear out and cause leaks.
Damaged O-rings
Found in mixer taps, O-rings can become brittle or break, leading to leakage where the tap joins the sink or from the spout.
Corroded tap seat or valve seat
Hard water and debris can corrode the valve seat, causing leaks around the spout base.
Loose parts
Over time, screws and nuts inside the tap can loosen, impacting its functionality.
Ceramic disc valve issue
In modern taps, ceramic discs are used as an alternative to rubber washers. If the disc is damaged or dirty, it can cause leaks.
Faulty cartridge
Cartridges control water flow in mixer taps and may be responsible for leakage if they become faulty.
Once you have identified the cause of the leak, you can move on to fixing it.
How to identify the cause of the leak
To identify the cause of a leaking tap, start by thoroughly examining the tap body and tap spout. Look for visible signs of damage, such as cracks or corrosion, which may indicate the source of the issue.
Next, check if water is leaking from the base of the tap body, as this could point to a problem with the O-ring or the connection to the sink.
For leaks coming from the spout, turn the tap off and observe if water continues to drip. This may suggest an issue with the washers, ceramic discs, or cartridge, depending on the type of tap.
By isolating the area where the leak originates, you can more accurately determine which component needs repair or replacement.
Safety precautions
Before reaching for your tools, take some safety precautions to prevent accidents and messes.
- Turn off the water supply – Locate the water shut-off valve or isolation valve under the sink and turn it off. For extra safety, consider shutting off the main water supply to your home.
- Cover the drain – Use a plug or a cloth to block the drain. This step ensures you don’t accidentally lose screws or other small parts during the repair process.
- Keep the workspace dry – Wipe down the sink and surrounding area to prevent tools from slipping and to maintain a clean workspace.
Taking these precautions will save you potential headaches and create a safe environment to work in.
Tools you will need to fix a dripping tap
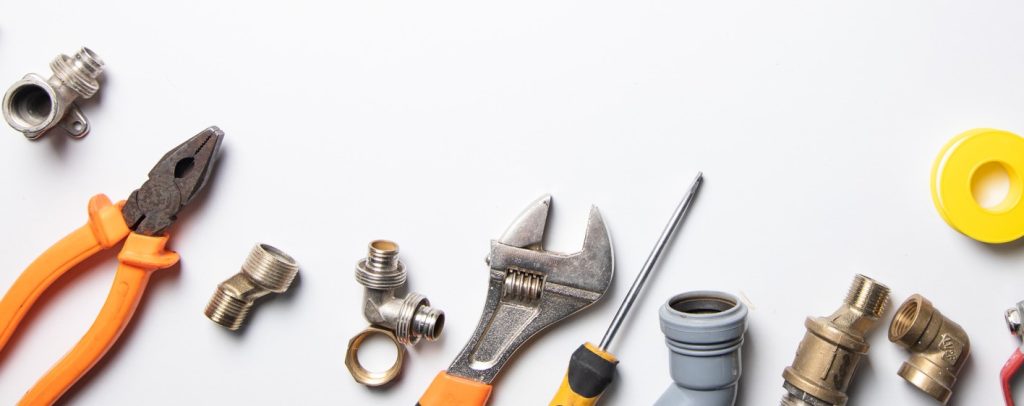
To fix a leaking tap, you’ll need a handful of essential tools and supplies. Here’s what to have ready before you start:
- Adjustable spanner
- Screwdriver set
- Replacement washers or O-rings (based on the issue)
- Thread seal tape
- Pliers
- A clean rag or cloth
- Lubricating grease
Ensure you have all these items available so that you don’t have to pause mid-repair to run to the hardware store.
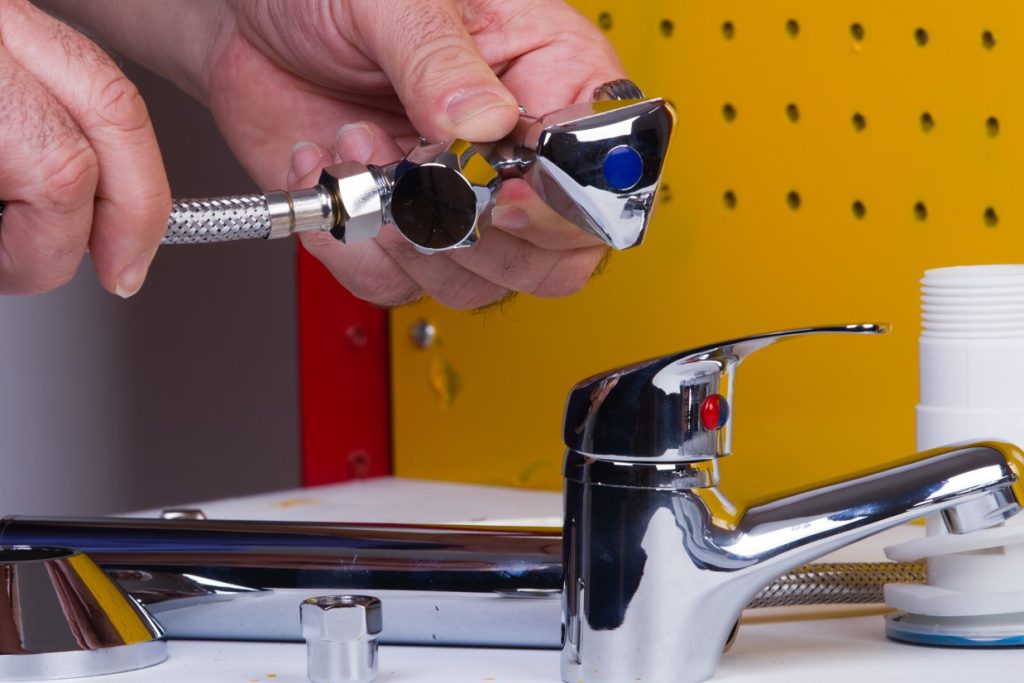
Step-by-step guide to fixing a leaking tap
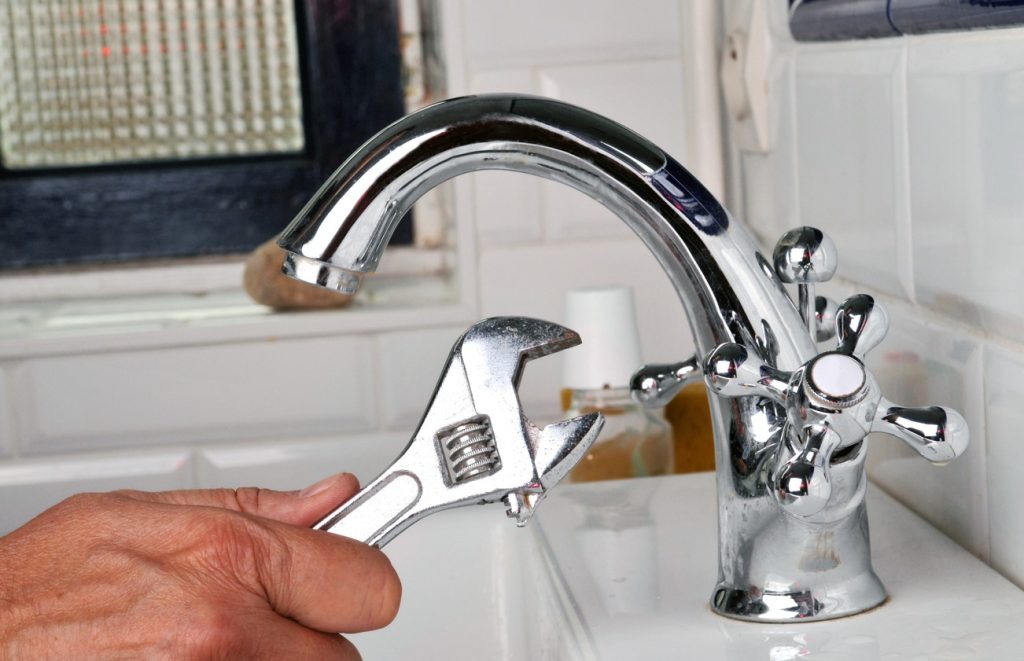
Step 1. Dismantling the tap
- Start by removing the tap handle cap (often marked with “hot” or “cold”) using a screwdriver or a sharp object.
- Unscrew the handle to access the inner parts. You may need an adjustable wrench to remove the spindle or cartridge (depending on the tap type). Handle all parts carefully. There may also be a small grub screw in place that you will need to remove before you can access the inner components.
2. Inspect and replace the washer or O-ring
- Examine the washer or O-ring for signs of wear, cracks, or damage. These are often the primary culprits of leaks. A replacement o-ring is a quick, effective and inexpensive fix.
- With everything dismantled, now is a good time to check the other components mentioned previously to ensure they are still serviceable not causing the offending leak.
- Replace the damaged part with an identical new one. Be sure it matches in size and type—consult the original packaging or bring the old washer to the store for reference.
2.5 Replace ceramic discs or cartridges (if applicable)
- If your tap uses ceramic discs, carefully remove the old discs and replace them with new ones. Be sure to clean any debris from the valve seats before replacing.
- For taps that use a cartridge, inspect it for signs of damage and replace if necessary.
3. Reassemble the tap
- Once the new washer or O-ring is in place, reassemble the tap in reverse order to how you dismantled it. When reinstating the valve cover to the tap valve be sure to hold the valve steady for correct alignment, a misaligned valve will cause an even greater leak.
- Make sure all components are tightened securely but avoid over-tightening, which may cause damage.
4. Testing the tap
- Turn the water supply back on and test the tap by running it fully open, then shutting it firmly. Check for any remaining drips or leaks.
At this stage, if everything has been done correctly, the persistent dripping should be a thing of the past. Congratulations, you’ve just repaired your leaking tap!
When to call a professional
Not every tap leak is suitable for a DIY fix. Sometimes, the problem may be more serious and require professional intervention. Issues such as extensive corrosion of the valve seat, damaged pipes, or complicated mixer mechanisms (especially in compression valve taps) are best left to experts.
If your attempt to fix dripping tap has failed or the problem feels beyond your skills, don’t hesitate to contact DWM Plumbing & Heating. With professional experience and expertise, we can handle even the most stubborn leaks and ensure your plumbing is in excellent condition.
Conclusion
Leaking taps might seem minor, but they can lead to larger problems if ignored. By taking the time to understand the cause, gather the right tools, and follow this step-by-step guide, you can successfully fix many common tap leaks. For more complex cases, professional help is always just a phone call away.
Whether you’ve succeeded in your DIY fix or need expert assistance, DWM Plumbing & Heating is ready to help. We pride ourselves on providing fast, reliable plumbing services that homeowners can depend on.
Take the first step towards hassle-free plumbing. Contact DWM Plumbing & Heating today to book an appointment or to learn more about our services.