24 HOUR CALL OUTS | NO CALL OUT FEE

Why you’re getting an F1 boiler fault and how to fix it?

Boilers are an essential part of our daily lives, keeping our homes warm and our water hot. However, like any machine, they aren’t immune to issues. One common problem that boiler owners frequently encounter is the dreaded F1 fault code. But what does this error mean, and how can you resolve it without unnecessary stress (and expense)?

Whether you’re a homeowner, a landlord, or a DIY enthusiast, this article walks you through everything you need to know about the F1 boiler fault, from its causes to possible DIY fixes and when it’s time to call a professional.

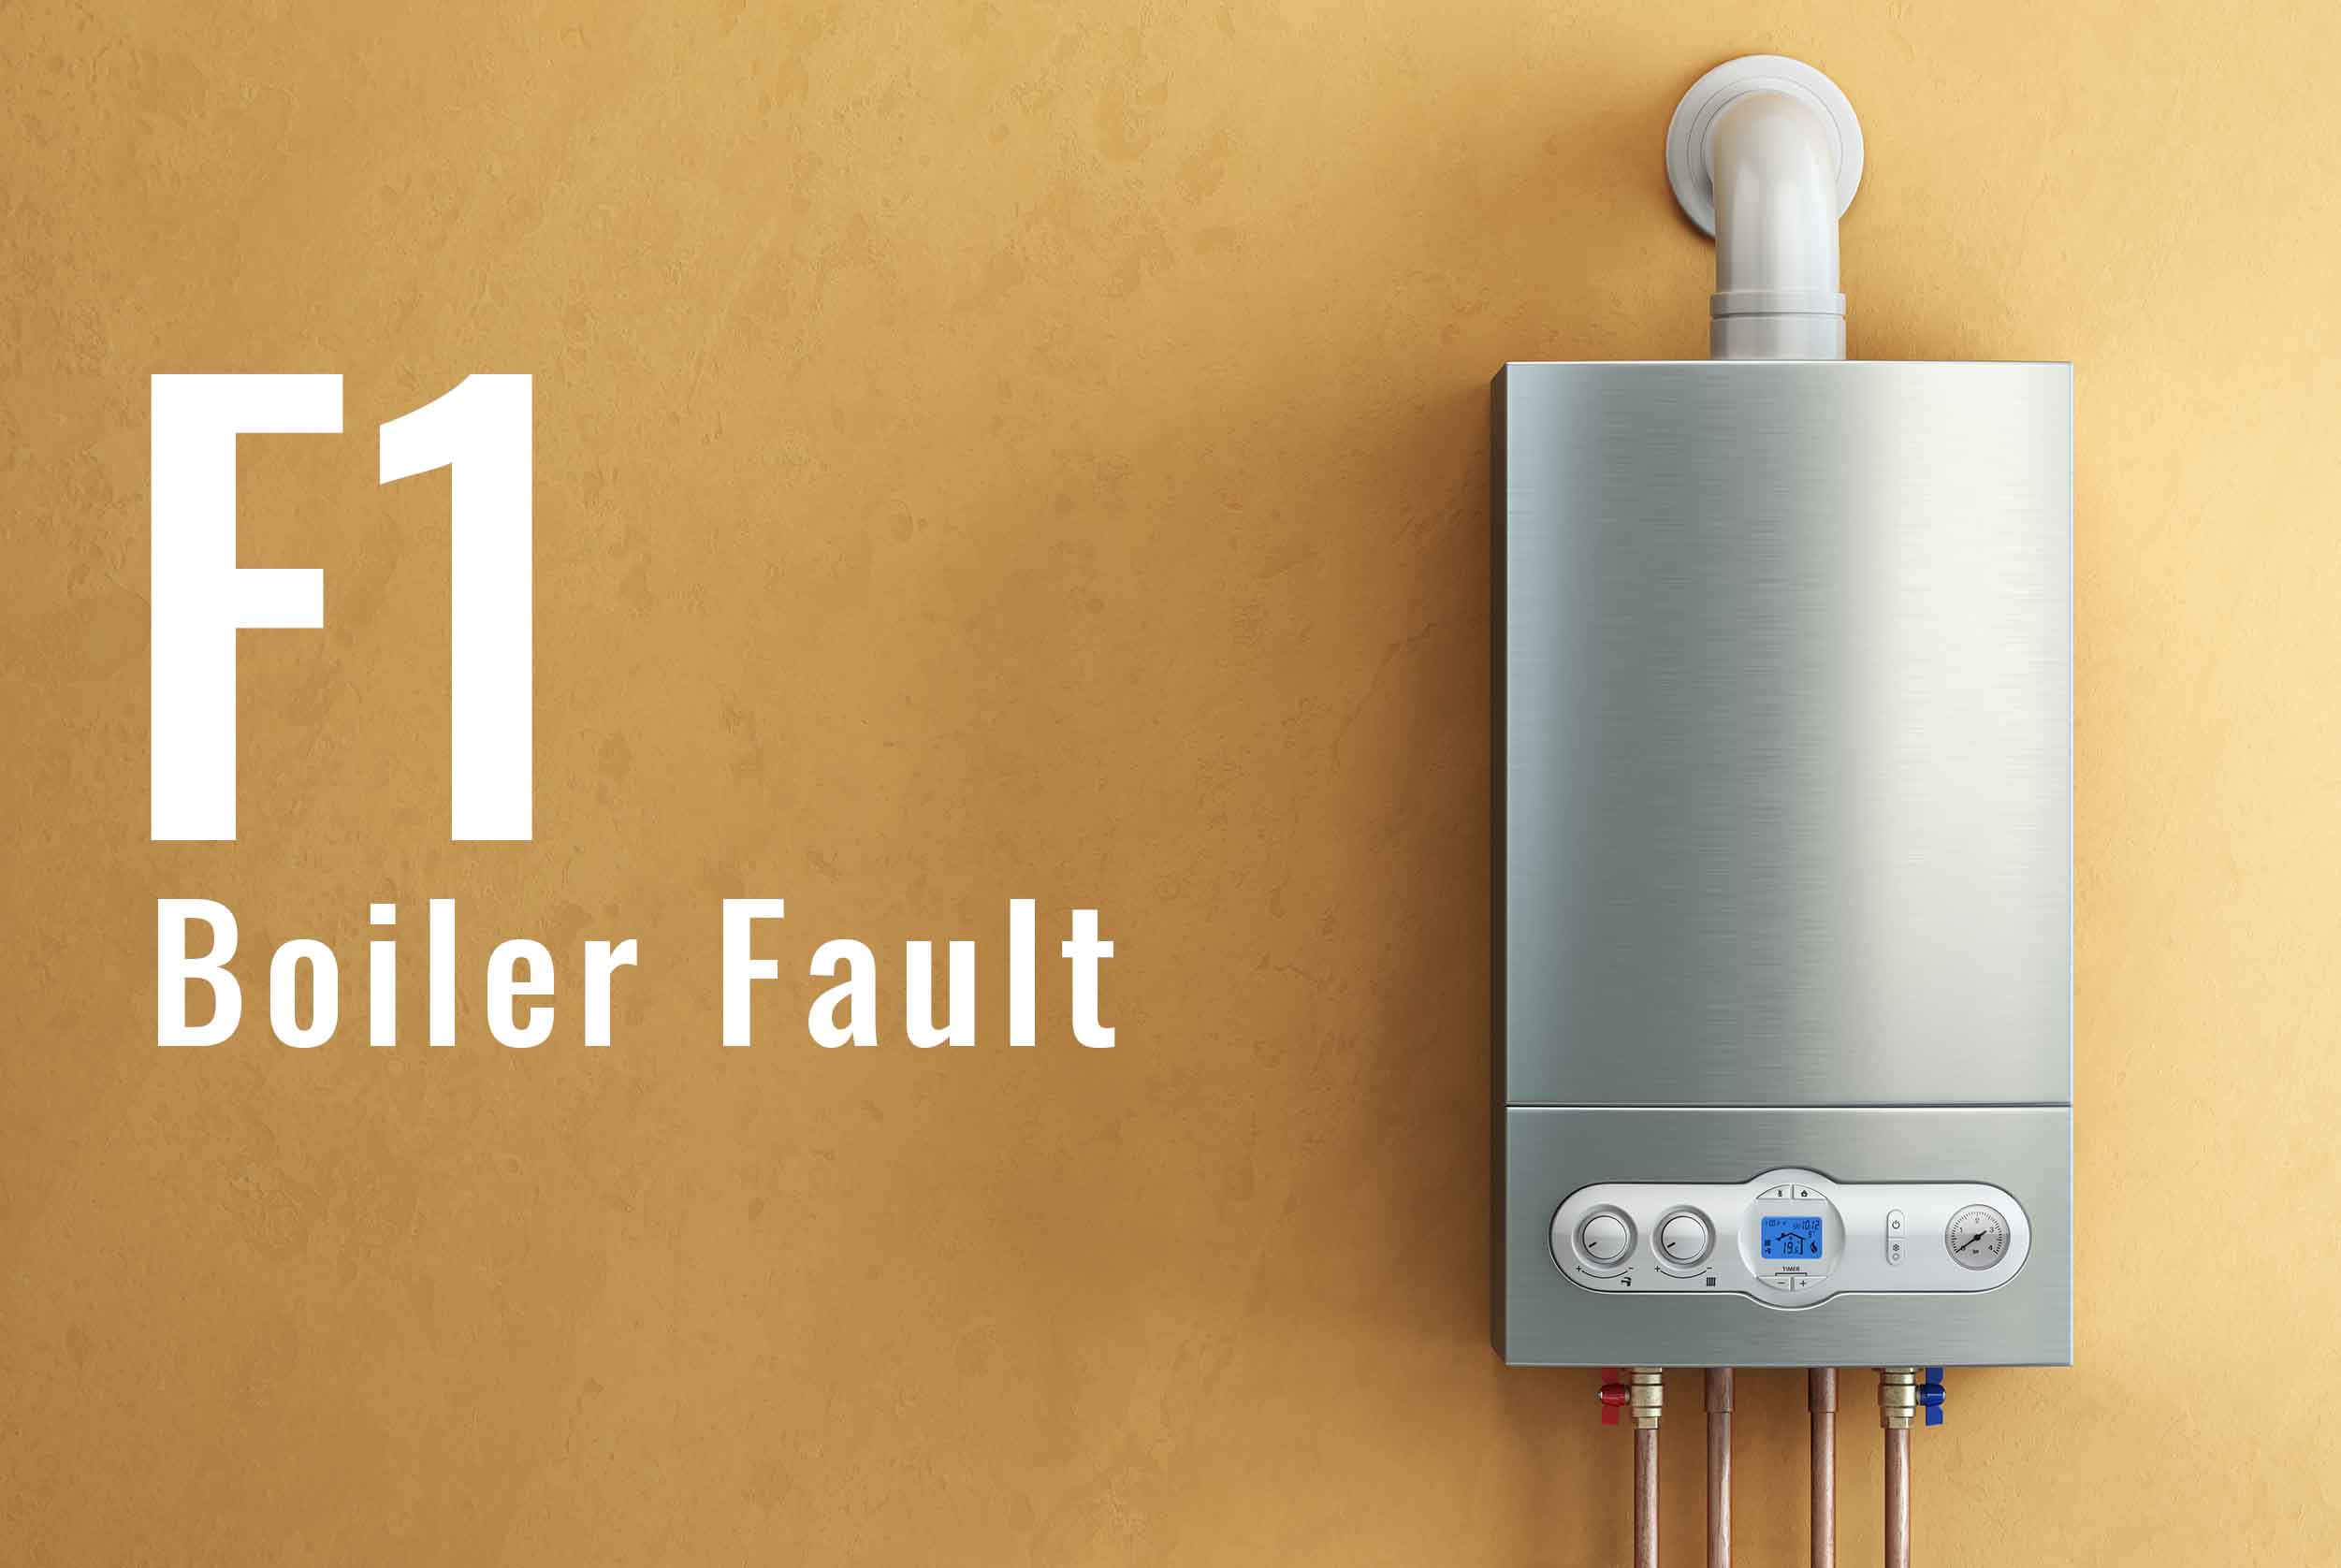
What the F1 boiler fault means

F1 boiler fault code

First and foremost, the F1 fault code is a warning system designed to alert you to a specific issue with your boiler. While the exact meaning can vary slightly depending on the brand, in most systems, the F1 fault indicates low water pressure inside the boiler.

Modern boilers rely on precise pressure levels to function efficiently. When the pressure drops below the safe operating range, the boiler will lock out, displaying the F1 fault code to prevent damage or further complications. Ignoring this warning could lead to more severe issues over time, such as damage to internal components or loss of heating entirely.

Addressing the F1 fault code quickly is critical, not only to restore warmth and hot water to your home but also to avoid costly breakdown of your central heating system or boiler components in the future.

Understanding the F1 error code

f1 boiler fault issue

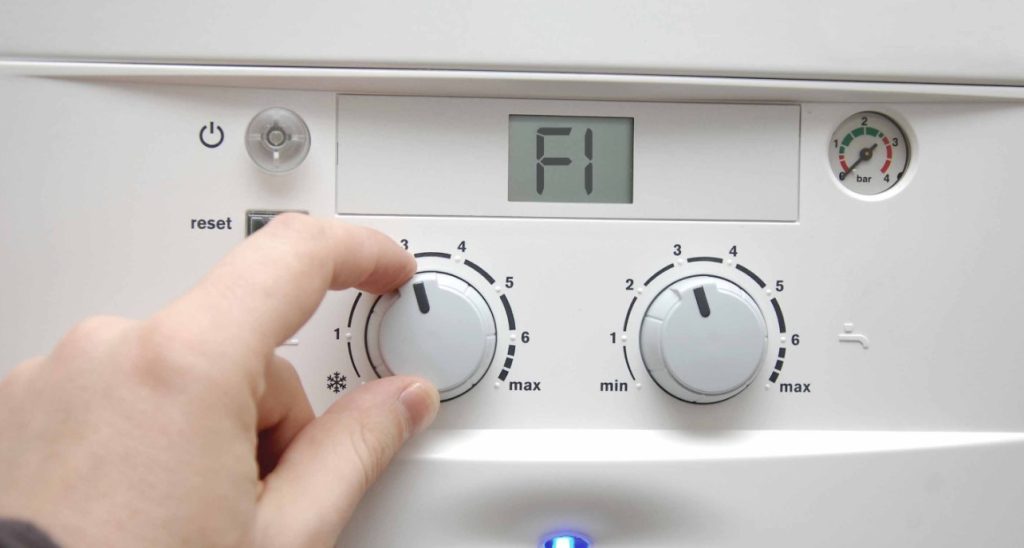
An F1 error is typically your boiler’s way of saying, “Something isn’t quite right with my water pressure system.” Here’s a breakdown of what this actually means:

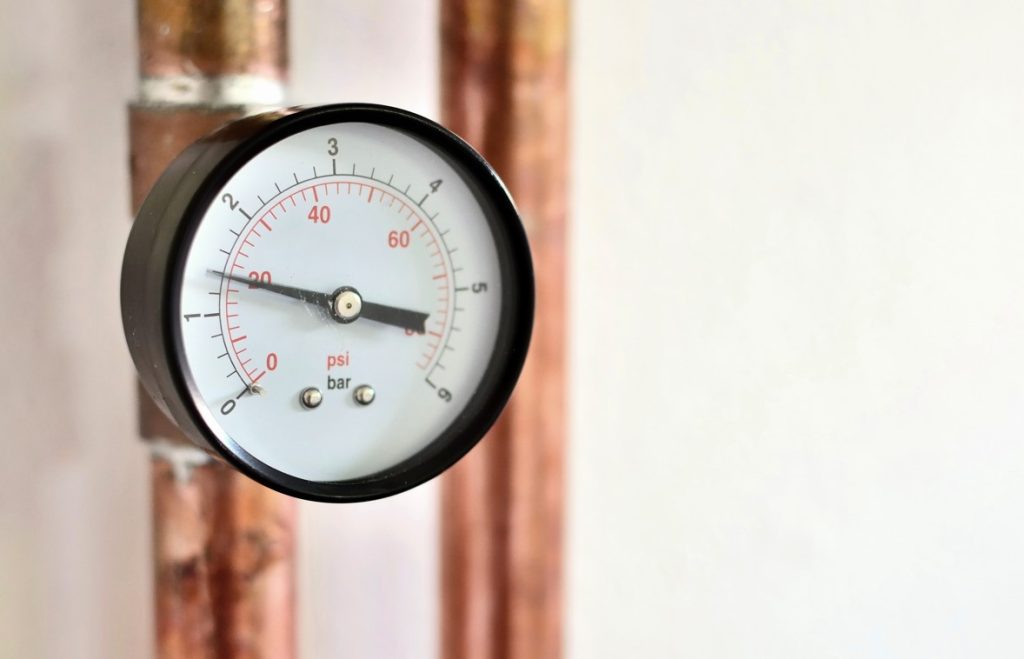
  • Low water pressure is the most frequent cause. Boilers require a specific pressure level (usually between 1.0 and 1.5 bar, which can be seen on the boiler’s pressure gauge). If the water pressure drops too low, the system won’t function.
  • Why low pressure matters: Adequate water pressure is crucial to the circulation of hot water through your radiators and taps. Without it, the boiler’s internal mechanisms can’t work effectively, leaving your system incapable of heating your home or water.

If the F1 error persists, it may also point to an underlying mechanical issue or external factor causing the pressure to drop.

Common causes of the F1 fault

fixing f1 boiler error code

Understanding what’s behind the F1 error will help you tackle it efficiently. Here are the most common culprits:

Low water pressure

Low boiler pressure is often a result of a depleted system – maybe the boiler hasn’t been topped up in a while, or there’s been a sudden drop in pressure from the mains supply.

Leaks in the system

Even small leaks in your pipework or radiators can cause the boiler’s pressure to fall. These leaks may not be immediately visible, so keep an eye out for damp spots or water pooling under pipes.

Air in the central heating system

Trapped air can disrupt the natural flow of water within the system, causing the pressure to fluctuate. This typically happens when radiators haven’t been bled for a while.

Faulty pressure gauge

A faulty pressure sensor (or pressure gauge) is a key component that reads and monitors the water pressure inside your boiler. If it’s faulty, you may see an F1 code even if the actual pressure is fine.

Frozen pipes

During colder months, pipes – especially external ones – are prone to freezing. This blockage prevents water from circulating, leading to a drop in pressure.

How to fix the F1 boiler fault yourself

Tackling an F1 fault doesn’t always require professional help. Here are a few steps you can take to resolve the issue yourself:

Checking the boiler pressure

If you suspect your boiler is losing pressure, you can begin by examining your boiler’s pressure gauge. If the needle is below 1 bar, the pressure is too low. This is usually the first sign of the F1 fault code.

Re-pressurising the boiler

  • Locate the filling loop (the filling loop is a silver, hose-like attachment underneath your boiler).
  • Open the valves to allow water to flow into the system. You should hear a faint whistling sound.
  • Keep an eye on the gauge and close the valves once the pressure reaches between 1.0 and 1.5 bar.

Be sure to check your boiler’s manual for specific instructions, as the process can vary depending on the model.

Bleeding radiators

If you suspect trapped air in the system, bleeding your radiators can help:

  • Turn off your heating and wait for the radiators to cool.
  • Use a radiator key to loosen the bleed valve (usually on the side or top of the radiator) slightly.
  • Release the trapped air until water starts trickling out, then tighten the valve.

Recheck your boiler pressure afterwards—bleeding radiators can cause it to drop slightly.

Thawing frozen pipes

If the F1 error occurs during freezing temperatures, frozen pipes might be the problem. Try warming the affected pipes using a hot water bottle, towel soaked in warm water, or a hairdryer on a low setting (keeping it at a safe distance).

When to call a professional

While many F1 faults are solvable with simple steps, there are situations where expert help is necessary:

  • Repeated F1 faults despite re-pressurising the boiler.
  • Suspected boiler leaks that you cannot locate or fix yourself.
  • Complex boiler issues involving internal components like the pressure sensor or pump.
  • No experience with plumbing or heating repairs – it’s better to call a professional than risk worsening the issue.

At DWM Plumbing & Heating, our experienced engineers specialise in diagnosing and repairing boiler faults, ensuring your system runs efficiently and safely. If you’re unsure about fixing the F1 fault yourself, a gas safe engineer from our team is only ever a call away.

Restoring your boiler’s efficiency

The F1 boiler fault, while inconvenient, is usually a straightforward issue to address. By understanding its causes and using the DIY methods outlined above, you can often resolve it quickly and without professional intervention. However, for persistent problems or more complex repairs, seeking expert assistance is the best course of action.

DIY not your forté? Get a professional solution today!

Don’t delay—keeping your boiler in top condition ensures you have a warm and comfortable home all year round. If you need help, our team at DWM Plumbing & Heating is here to assist.  And if it’s too late for a repair, we can help you find the ideal boiler as a replacement

Contact us today and get your heating system back on track.

How to fix a leaking tap?

Leaking taps can be more than just an annoyance. That persistent drip may seem harmless, but it can significantly increase your water bill and may even lead to further damage if left unchecked. The good news? You don’t need to be a professional plumber to address many common tap leaks. With the right tools, a little patience, and a solid guide, you can tackle the issue yourself.

This guide will walk you through the steps to fix a leaking tap, saving you both time and money. If DIY isn’t your style, or if the problem persists, remember that DWM Plumbing & Heating is just a call away for a reliable and professional solution.

The components of a tap

tap components

Before we dive into the steps to fix a leaking tap, it’s essential to understand the different parts of a tap and how they work together. This knowledge will help you identify which component is causing the leak and guide your repairs accordingly.

The spout

The spout is the visible part of the tap that water flows through. It can come in various shapes and sizes, but its function remains the same – to direct water from the tap into your sink or tub. If you see any signs of leakage around your spout, it may be due to worn out O-rings or faulty seals. These are relatively easy to replace with some basic tools and should solve most issues with spout leaks.

The handles

Most taps have two handles – one for hot water and the other for cold. They control the flow and temperature of water. Over time, the rubber or silicone seals inside these handles may wear out, leading to drips or even complete loss of control over water flow. Replacing the seals can fix this problem in most cases.

The cartridge

The cartridge is a crucial component that sits inside a tap’s body and regulates the flow of both hot and cold water. It has small openings that align with your faucet’s spout to release water as you turn on the tap’s handle. Cartridges are durable, but they eventually wear out due to continuous use. If you see water dripping from your tap’s spout even in the off position, it could be due to a faulty cartridge that needs replacement.

The valve seat

The valve seat is a small brass cylinder that connects the tap to your water supply. It acts as a connection between the cartridge and the spout, allowing water to flow through. If you have an older tap, the valve seat may become corroded over time, leading to leaks around the base of your tap. Replacing this component may require professional help, so it’s best to call in a plumber for this task.

Understanding the causes of a leaking tap

causes of dripping tap

Before you start fixing the leak, it’s important to understand the cause. A leaking tap is usually the result of wear and tear over time. Several factors could be responsible, including:

Worn-out tap washer

Washers create a seal that prevents water from passing through when the tap is off. Over time, they can wear out and cause leaks.

Damaged O-rings

Found in mixer taps, O-rings can become brittle or break, leading to leakage where the tap joins the sink or from the spout.

Corroded tap seat or valve seat

Hard water and debris can corrode the valve seat, causing leaks around the spout base.

Loose parts

Over time, screws and nuts inside the tap can loosen, impacting its functionality.

Ceramic disc valve issue

In modern taps, ceramic discs are used as an alternative to rubber washers. If the disc is damaged or dirty, it can cause leaks. 

Faulty cartridge

Cartridges control water flow in mixer taps and may be responsible for leakage if they become faulty.

Once you have identified the cause of the leak, you can move on to fixing it.

How to identify the cause of the leak

identify the cause of the leak

To identify the cause of a leaking tap, start by thoroughly examining the tap body and tap spout. Look for visible signs of damage, such as cracks or corrosion, which may indicate the source of the issue.

Next, check if water is leaking from the base of the tap body, as this could point to a problem with the O-ring or the connection to the sink.

For leaks coming from the spout, turn the tap off and observe if water continues to drip. This may suggest an issue with the washers, ceramic discs, or cartridge, depending on the type of tap.

By isolating the area where the leak originates, you can more accurately determine which component needs repair or replacement.

Safety precautions

Before reaching for your tools, take some safety precautions to prevent accidents and messes.

  1. Turn off the water supply – Locate the water shut-off valve or isolation valve under the sink and turn it off. For extra safety, consider shutting off the main water supply to your home.
  2. Cover the drain – Use a plug or a cloth to block the drain. This step ensures you don’t accidentally lose screws or other small parts during the repair process.
  3. Keep the workspace dry – Wipe down the sink and surrounding area to prevent tools from slipping and to maintain a clean workspace.

Taking these precautions will save you potential headaches and create a safe environment to work in.

Tools you will need to fix a dripping tap

tap repair tools

To fix a leaking tap, you’ll need a handful of essential tools and supplies. Here’s what to have ready before you start:

  • Adjustable spanner
  • Screwdriver set
  • Replacement washers or O-rings (based on the issue)
  • Thread seal tape
  • Pliers
  • A clean rag or cloth
  • Lubricating grease

Ensure you have all these items available so that you don’t have to pause mid-repair to run to the hardware store.

Step-by-step guide to fixing a leaking tap

Step-by-step guide to fixing a leaking tap 

Step 1. Dismantling the tap

  • Start by removing the tap handle cap (often marked with “hot” or “cold”) using a screwdriver or a sharp object.
  • Unscrew the handle to access the inner parts. You may need an adjustable wrench to remove the spindle or cartridge (depending on the tap type). Handle all parts carefully.  There may also be a small grub screw in place that you will need to remove before you can access the inner components.

2. Inspect and replace the washer or O-ring

  • Examine the washer or O-ring for signs of wear, cracks, or damage. These are often the primary culprits of leaks.  A replacement o-ring is a quick, effective and inexpensive fix.
  • With everything dismantled, now is a good time to check the other components mentioned previously to ensure they are still serviceable not causing the offending leak.
  • Replace the damaged part with an identical new one. Be sure it matches in size and type—consult the original packaging or bring the old washer to the store for reference.

2.5 Replace ceramic discs or cartridges (if applicable)

  • If your tap uses ceramic discs, carefully remove the old discs and replace them with new ones. Be sure to clean any debris from the valve seats before replacing.
  • For taps that use a cartridge, inspect it for signs of damage and replace if necessary.

3. Reassemble the tap

  • Once the new washer or O-ring is in place, reassemble the tap in reverse order to how you dismantled it.  When reinstating the valve cover to the tap valve be sure to hold the valve steady for correct alignment, a misaligned valve will cause an even greater leak.
  • Make sure all components are tightened securely but avoid over-tightening, which may cause damage.

4. Testing the tap

  • Turn the water supply back on and test the tap by running it fully open, then shutting it firmly. Check for any remaining drips or leaks.

At this stage, if everything has been done correctly, the persistent dripping should be a thing of the past. Congratulations, you’ve just repaired your leaking tap!

When to call a professional

Not every tap leak is suitable for a DIY fix. Sometimes, the problem may be more serious and require professional intervention. Issues such as extensive corrosion of the valve seat, damaged pipes, or complicated mixer mechanisms  (especially in compression valve taps) are best left to experts.

If your attempt to fix dripping tap has failed or the problem feels beyond your skills, don’t hesitate to contact DWM Plumbing & Heating. With professional experience and expertise, we can handle even the most stubborn leaks and ensure your plumbing is in excellent condition.

Conclusion

Leaking taps might seem minor, but they can lead to larger problems if ignored. By taking the time to understand the cause, gather the right tools, and follow this step-by-step guide, you can successfully fix many common tap leaks. For more complex cases, professional help is always just a phone call away.

Whether you’ve succeeded in your DIY fix or need expert assistance, DWM Plumbing & Heating is ready to help. We pride ourselves on providing fast, reliable plumbing services that homeowners can depend on.

Take the first step towards hassle-free plumbing. Contact DWM Plumbing & Heating today to book an appointment or to learn more about our services.

Do you have any specific request or
would you like to explore our offerings?

Call Now
Get a Quote